Monday, December 5, 2016

I Heart N Y– a bears&boxes piece

I am excited to share my latest bears&boxes piece. This one was a special request and I absolutely loved working on it. Let me be frank. At first I wasn’t exactly sure which direction I was going to go with it. After all, New York City is limitless when it comes to subject matter. What helped me the most was knowing it was meant to be from a New York tourist/visitor viewpoint. What follows are the photos I took of the piece in progress from beginning to end.

This is the box surface preparation.  Initially, it was an unfinished wooden box.

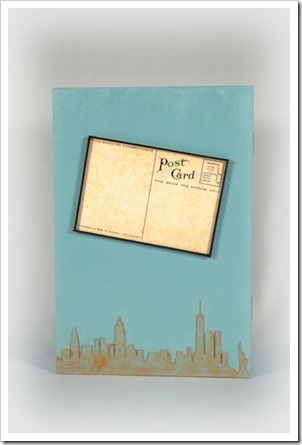
Then with my husband’s invaluable assistance, we cut a silhouette of the New York city skyline from chipboard – twice….

I applied them to the front and back of the box for texture.

Then I moved onto the other element I wanted to add to the front – a vintage style postcard in three dimensions.

I painted the piece in several stages.  This blue color is the main one.

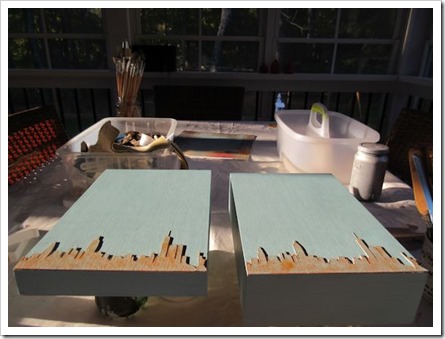
Here’s a view of my work table on our porch.  I love working there.  Here you see various parts and pieces underway.

This is a close-up of the textured skyline as you can see by the shadow it casts.

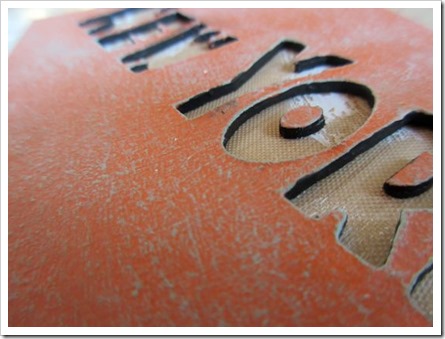
Details are important to me and so I painted the interior of the letters black so they would stand out more and provide a contrast and frame for the images that will fill the letter interiors.

Some more very large letters which will go inside the box.

A glimpse of the postcard mostly complete and the letters finished.

These little pictures took quite a bit of time – not only choosing them, sizing them and editing them, but finishing them and deciding what order I would hang them.

One of the things I love to do on boxes that have a big enough edge is to add text using the transfer process.  Do you recognize what the words are from?

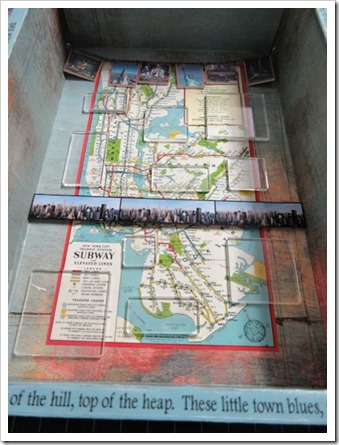
I took this photo of the placement of these acrylic rectangles so I would be able to have a reference when I was ready to adhere them.

These photos will go underneath the rectangles above.

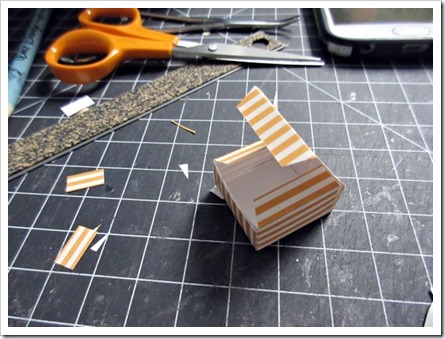
This tiny little cheesecake box was fun to make.

Here are the photos of the final piece.

Front

ilvnyc_17

Back

ilvnyc_18

Left side

ilvnyc_19

Right side

ilvnyc_20

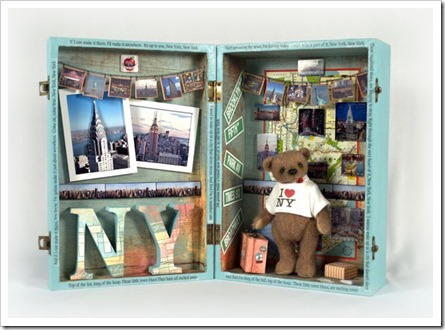
Entire box opened

ilvnyc_21

Details in the corner  including a real NYC subway token and a playbill.

ilvnyc_22

These photos are three dimensional although it might be a bit difficult to tell here.  I printed the background on a matte surface paper and the foreground that was cut out silhouette style was printed on glossy paper.

ilvnyc_23

One of the most fun things to make was this tiny little suitcase.  I began with an unfinished chipboard suitcase shape which I covered with paper an added the details.  And this little bear does have some things inside it – mementos if you will.

ilvnyc_24

New York’s ubiquitous street signs – some famous ones.

ilvnyc_25

And the little bear himself with his I heart NY t-shirt.

ilvnyc_26

Thanks for stopping by.  I hope you enjoyed seeing how this piece came together!

signature

Friday, September 23, 2016

TBAI 2016 is Now a Memory

Yesterday was the first day of Autumn – What?! Yep. And TBAI 2016 is now a memory. Today we are headed up to Farmington, Connecticut for the Bears Near Bristol show. It will be my first time in Connecticut, but hopefully not my last. It has been a whirlwind summer.

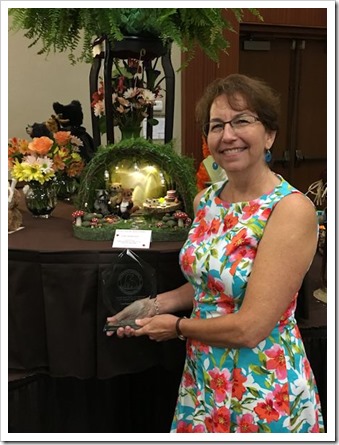
We had such a great time at TBAI seeing friends and making some new ones. My gallery piece won first place in the 8 inches and under category!

tinam_1

It all seems so far away now. The new location of Syracuse, NY received many positive reviews. The hotel and facilities were nice and even though I wasn’t able to go on the tour to the Thousand Islands area, those who did said it was incredibly beautiful.

I posted photos of all the tables at TBAI on the Piece Parade Facebook page. You can see them here.

If you “LIKE” my Piece Parade Facebook page, you will find I post there more frequently these days.

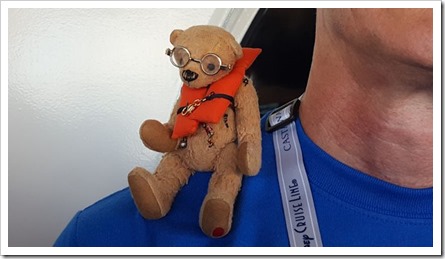
Sebastian is itching to tell you about his travels. He’s one little bear on the move! I’m hoping he will share some of his photos and tell you about floating in the Caribbean. For now, I hope you will enjoy this photo of him getting ready for the muster drill just before departing Port Canaveral for his ocean adventure.

tinam_2

Sebastian sends love and hugs!

Thanks for reading!!!

signature

Thursday, August 4, 2016

My 2016 TBAI Gallery Piece

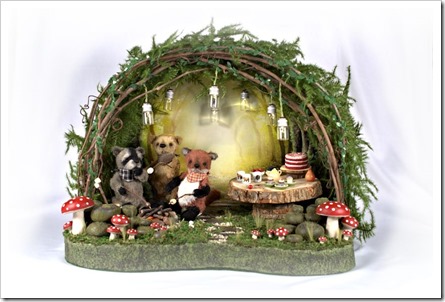
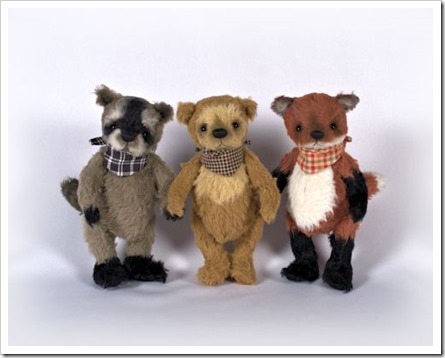
Time is getting short and the Teddy Bear Artist Invitational Show is just around the corner. The theme for this year’s show is Critters Galore . . . Bears and More. Today I am delighted to share my TBAI gallery piece I call “The Hideout”. With the theme in mind, please meet Robbie (the raccoon), Barney (the bear) and Freddy (the fox) in their hideout in the forest.

m2016tgp_1

These three meet here frequently for fun and friendship. It is a place deep in the woods that they have made their own. The slate pathway to their secret hideaway is known only to them.

m2016tgp_2

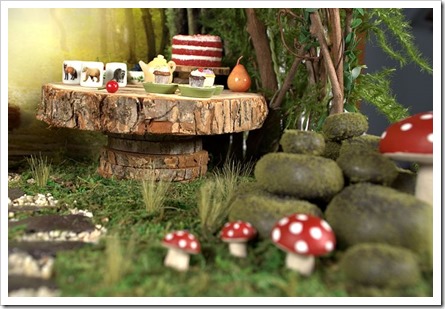
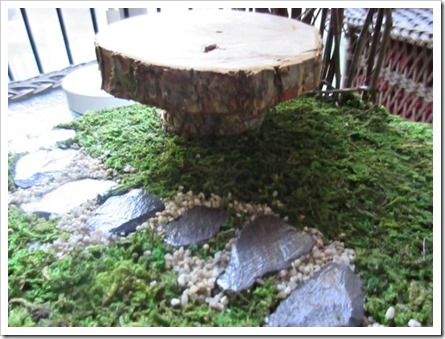
There you will see their homemade table is very forest friendly made from a slice of a fallen tree and their perches are rocks found here and there.

m2016tgp_3

This time their moms baked some homemade goodies for their adventures in the woods: a red velvet cake and some cupcakes – one for each of them. (My daughter Claire made them! Yum!)  These three keep their own special mugs for the ‘magical’ glowing tea in the hideout. Can you guess whose is whose?

m2016tgp_4

One of their favorite things to do is to roast marshmallows for S’mores. They are very careful about their campfire and keep a sharp eye on the flickering coals and the marshmallows. Everyone except Robbie. He let his marshmallow get a little too close! That’s okay though. They have some spares.

m2016tgp_5

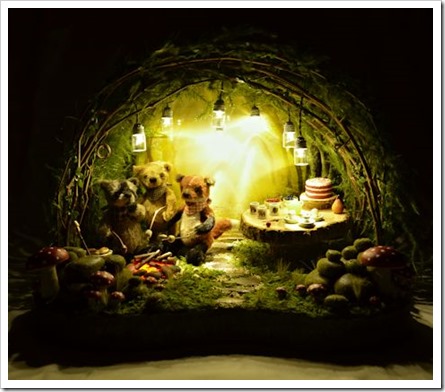
When it gets dark, they have jar lights hanging overhead so they can stay late or sleep over if they want.

m2016tgp_7

These little friends simply enjoy each other’s company and if there happen to be some delicious treats too, all the better. Welcome to “The Hideout”.

m2016tgp_8

I hope you enjoyed your visit to The Hideout!  Thanks for coming!

signature

Monday, August 1, 2016

Campfire – WIP TBAI Gallery Piece

One of the features of this piece is a campfire. In fact, you might even say, without a campfire, the fun factor would be dramatically diminished. With that in mind, I did some research because I wasn’t sure how one goes about building a small campfire that doesn’t look totally ridiculous.

Do you see the sort of white, sort of round, flat object on the right edge of this photo?

That is where I began. Actually, the beginning was creating that round object but I lost some of the photos from my camera not 15 minutes ago, so you’ll just have to take my word for it when I say the mold for this thing was a piece of aluminum foil and the substance I used was a silicon gel.

In order for it to look as much like a campfire as I could possibly make it, I thought it needed to glow and flicker. And in order to glow and flicker, light needed to pass through the ‘coals’ (i.e. the silicon circle). The silicon would provide this opportunity so the lights could glow but not-too-bright.  I wasn’t totally convinced my idea would work, but I had no back-up plan so I had to go with it.

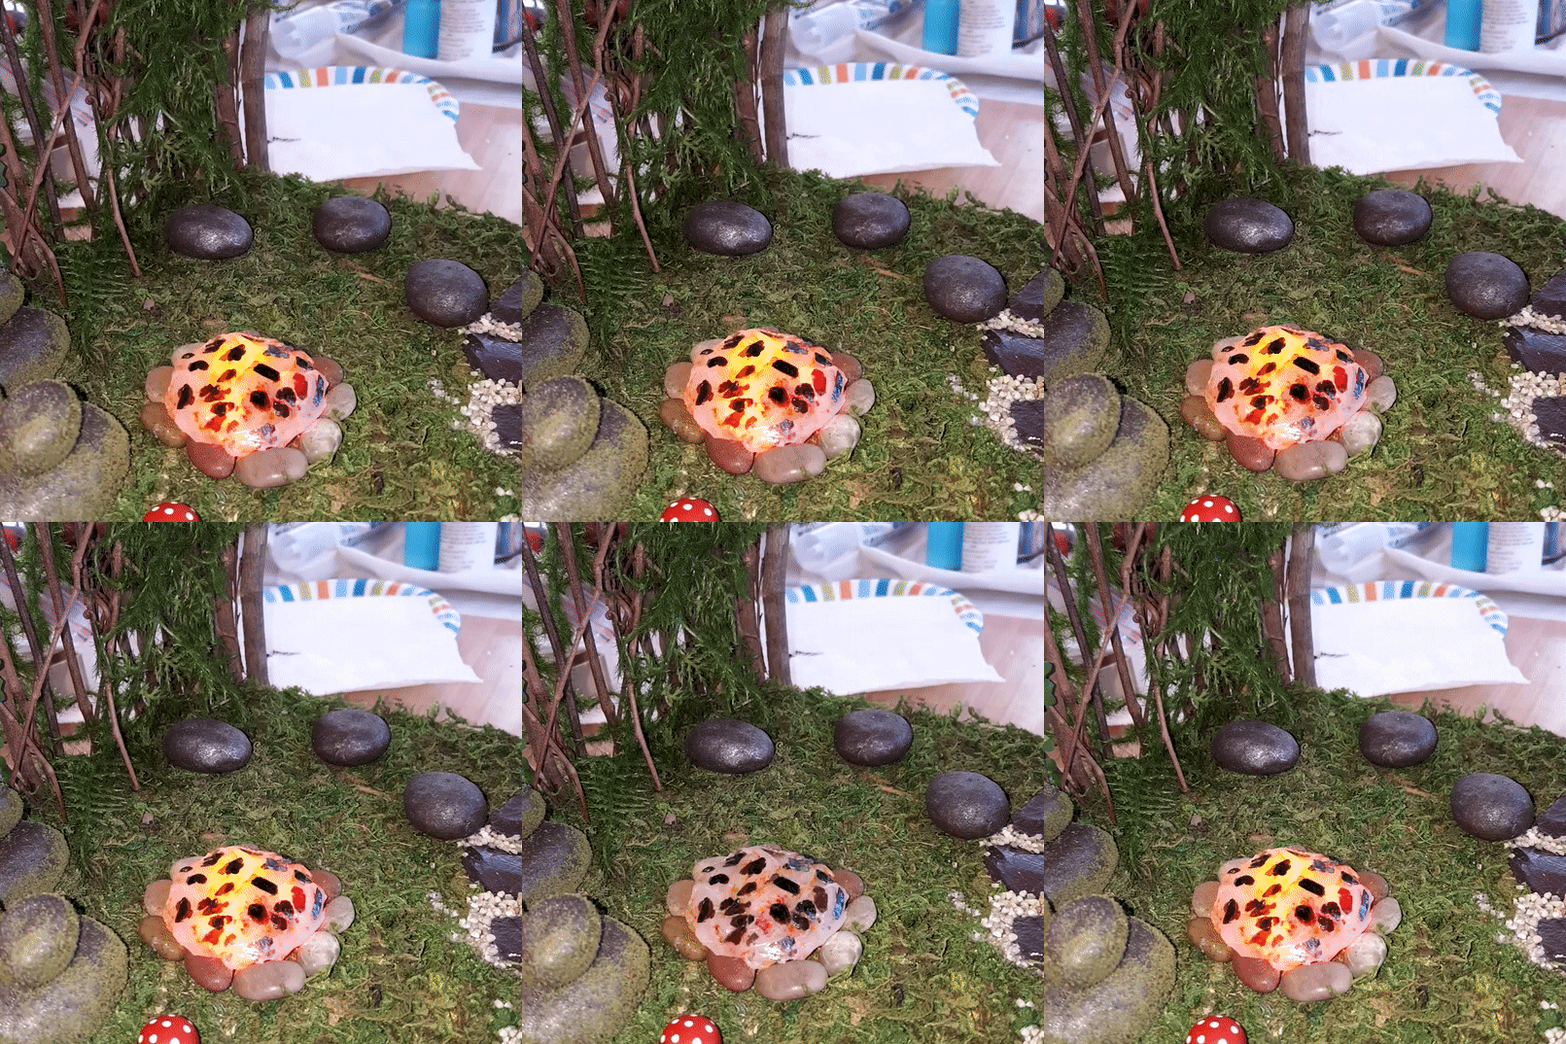
I removed some of the moss in the area I wanted to place the campfire and, with Jay’s help; we wired three flickering lights in three colors: red, orange and yellow. I covered the lights with the silicon circle, added some flakes to give the impression of coals, and shortly after, glued everything in place.

Here’s a quick clip of the glowing embers:

campfire 

Afterwards, all that was left to do was to set the rock/stone border in place – we wouldn’t want the fire to get out of hand! – And make some tiny logs to add to the top.

As always, thanks for reading!

signature

Thursday, July 28, 2016

TBAI Gallery Piece – WIP Forest Floor & Path

After the grapevine arches part of this project, I moved on to work on the forest floor and path that I had envisioned. I was familiar with this particular task to a degree having used moss in several previous pieces and I always manage to finds moss bits attached to everything in the house afterwards!

There were a few decisions I needed to make, of course. First I had to determine the size and route of the path I wanted to include. Straight seemed a bit boring but I did have some inspiration to guide me as you will see at the end.

Here is right side of the piece with moss in place:

Another view point.

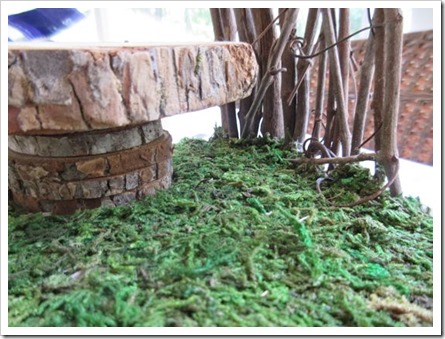
This photo shows the vines on the right side secured in place as well as the wood slab that will be a table.

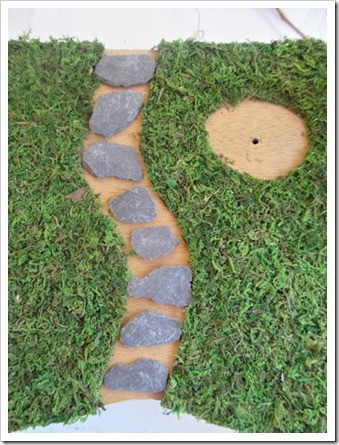
Here’s an aerial shot of the pathway.  I thought it looked a little too regular at this point but I knew once it was filled in, it would look less so.

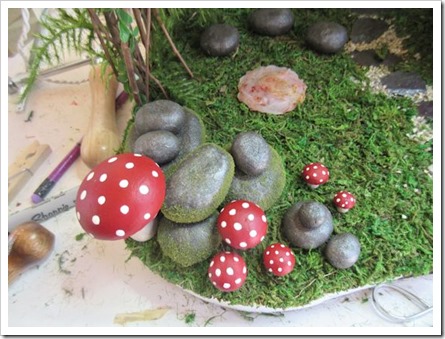
This is where I began to add in more moss and some tiny rocks.

I painted the slate pieces to look somewhat damp as they would in a forest.

Peeking in from above through the branches.

signature

Related Posts Plugin for WordPress, Blogger...